Another reader has shared her floss storage system with us! She says:
“I order the pattern booklet with three sets of labels.
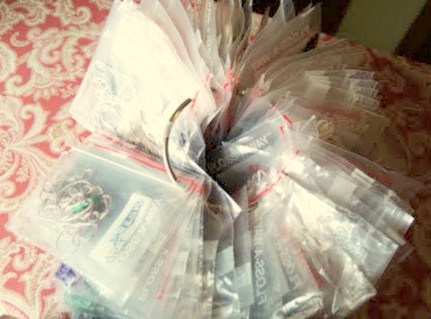
“I attach a set of labels to floss bags on a ring. (I refer to this as “The Hold”.)

“Next, I take a razor blade and place it sharp side up in the crack of my dining room table formed by the leaf. I place a piece of tape 16” from the razor blade. I then take each color of floss and cut 16” lengths until done, and place them in the corresponding floss bags. (“The Hold”)
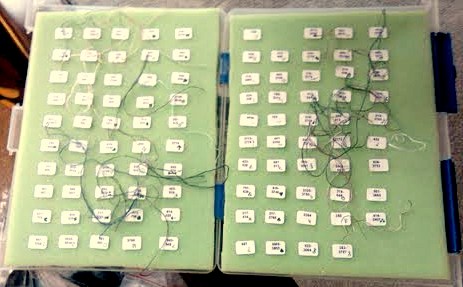
“I purchased a 1” deep plastic container with a hinged cover. I placed 1” thick, dense foam in both sides of the container. I then attached the second set of labels in rows onto the foam sides. I purchased enough needles to fill each spot. I load each needle with the appropriate color of floss. (I refer to this as “The Deck”.)

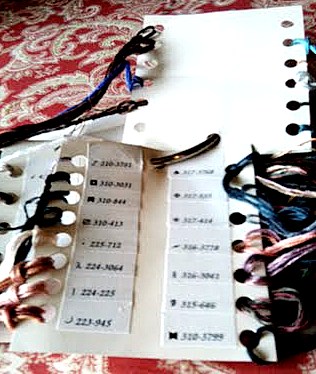
“I then made several 3” by 6” cards, running holes down both sides with a hole punch, and attaching the third set of labels next to each hole. Placing one hole in the left corner of each card, and putting the cards onto a ring through these holes. I loop three floss lengths per symbol through the holes.(I refer to this as “The Cache”.)

“Now when I am ready to stitch, I take the needle from The Deck corresponding to the symbol. When I run out of floss in the needle, I take from The Cache. When the Cache become depleted, I pull from The Hold.”
What do you think?

